The Complete Guide for Growing Cannabis at Home
Selecting a Strain
Cannabis comes in a number of strains, each having a different CBD and THC content. That’s because Cannabis Sativa and Cannabis Indica, the two primary strains, are cross-bred to give hybrid strains, like Blue Dream, Charlotte’s Web, and Purple Haze. If you’re looking for pronounced psychoactive effects, then you need to select a strain with a high THC content, as CBD alone doesn’t get you high.
The one that you want depends on your needs, whether for recreational or medicinal purposes. The best way to know for sure is to test it out. Check out retail stores near you and try the different strains they have to offer or order them online. The chances are that their CBD and THC content (THC:CBD ratio) is highlighted on them; otherwise, you could just ask the dispenser. Additionally, they may be willing to sell you the seeds to get started.
Germination
This is the first stage in the growing process if you’re using seeds to grow your cannabis plant. It takes about 3-10 days for cannabis seeds to germinate, that is, for it to start sprouting its first root after cracking out from the seed.
Cannabis seeds need a warm and moist climate to start germinating into a seedling. The best strategy here is to keep them wrapped in a wet paper towel near a window sill that receives light. Leave them alone for a couple of days, and a small white root should start appearing. Alternatively, if your region doesn’t receive enough sunlight or if it’s too cold, keep the paper towel under warm bulbs at about a distance of 1 foot. This should hasten the process.
You need to be extremely gentle with the seedlings when transitioning to the next phase of growth –sowing, but before you do that, you need to consider the space you’re going to grow them in.
Selecting a Space for Growing Cannabis at Home
The space you reserve for your plant depends on the harvest you’re looking for. On average, you can get about 6-8 ounces of finished product from your plant; however, this number greatly dependent on the skills of the grower and how good they are at nurturing their crop. If you do everything perfectly, you can even harvest about a pound of material.
However, the best strategy would be to grow them indoors before they mature, then transplant them outside until they’re ready for harvest. Of course, if your region doesn’t receive much sunlight or is too cold for growing plants outside, then you’ll have to keep your operations running indoors.
Make sure you have plenty of space for growing your crop. A typical cannabis plant can grow upwards of 6 feet. Its width needs to be managed when growing as well, such that all areas of the plant receive adequate sunlight.
Sowing
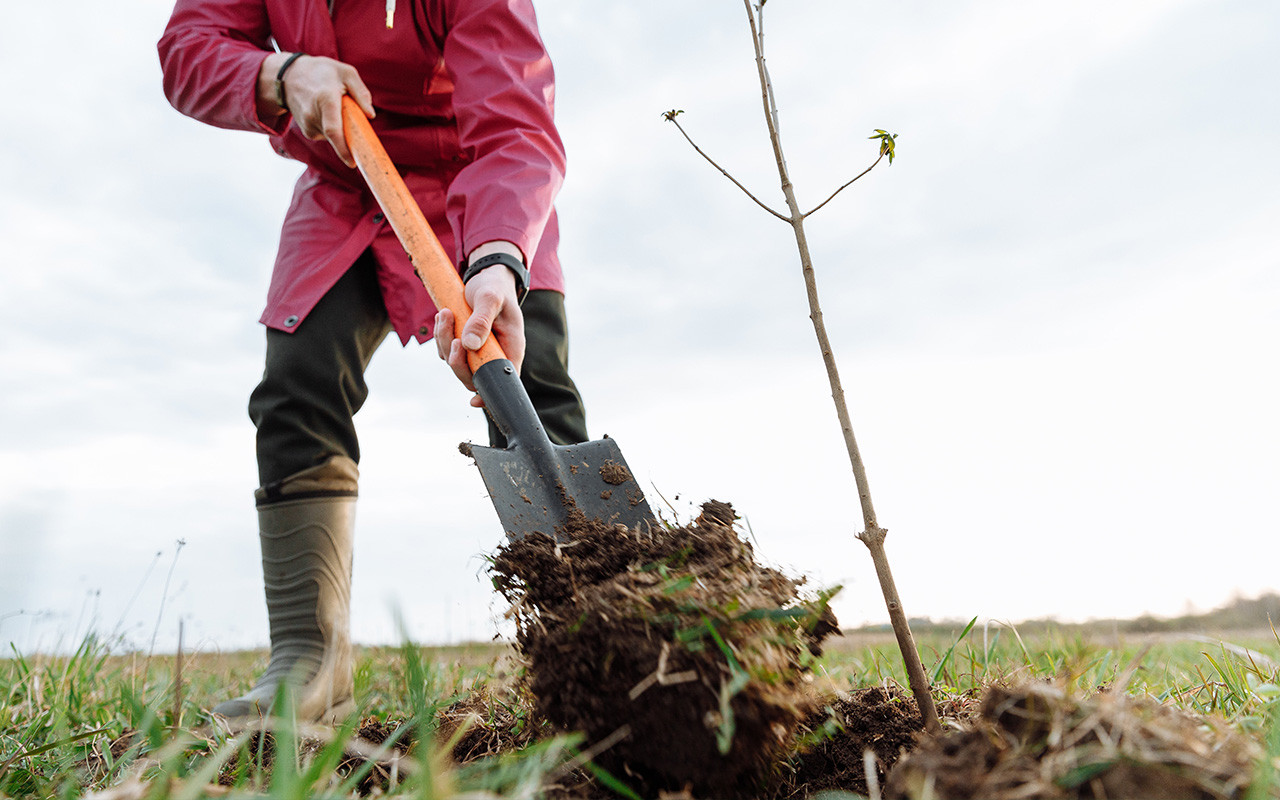
Once your seeds have germinated, and a small tendril (3-5mm) grows out from the seed, you need to transplant them into your growing medium. Soil would be the most cost-effective medium to use, considering your operations won’t produce enough product to warrant the need for hydroponics. Since the seedlings are extremely small, you won’t need pots just yet. Plant them about an inch to an inch and a half deep in small plastic cups containing the soil. Be extremely careful during this stage as their roots are very delicate. Excessive movement may damage them and halt their growth
Your medium shouldn’t be as compact. It should be porous enough to allow air to pass through; however, if it’s too loose, the water may drain quickly and take away the nutrients of the soil. Speaking of nutrients, these are the ones you’ll need to consider for effective growth.
Nutrients
All plants need a host of essential macro and micronutrients to grow. Like any other plant, the macro-nutrients that cannabis requires are nitrogen in the form of nitrates or ammonium ions, potassium, and phosphorus. Without these components, your cannabis plant won’t have the means to grow, as these minerals are essential for facilitating the cellular mechanisms that help to nurture the plant, aiding in photosynthesis, protein formation, and energy transfer.
Using compost is perhaps the most effective fertilizer for your plant. It’s inexpensive, sustainable, and can be done at home. Just make sure to add the correct organic matter to it. Alternatively, you can also buy compost at your local garden shop.
If the crop contains a number of plants, then you might need to buy urea or NPK fertilizers. They’ll be more cost-effective. However, you’ll need to control the soil pH when using them.
Soil pH
Soil pH is essential to control when growing cannabis. It determines the nutrient availability for the plant, in turn affecting plant growth. Luckily, it’s easy to monitor and control. Cannabis requires a slightly acidic soil pH, ranging from 6.3 to 6.8 on the pH scale.
If your soil is too basic (higher than 6.8), you can tweak its levels by introducing acidic compounds like aluminum sulfate or elemental sulfur into the soil. If it’s too acidic (less than 6.3), adding hydrated calcium hydroxide to the soil serves to remedy that. In either case, make sure to add the relevant compounds in small amounts and test out the pH after every addition.
Vegetative Stage
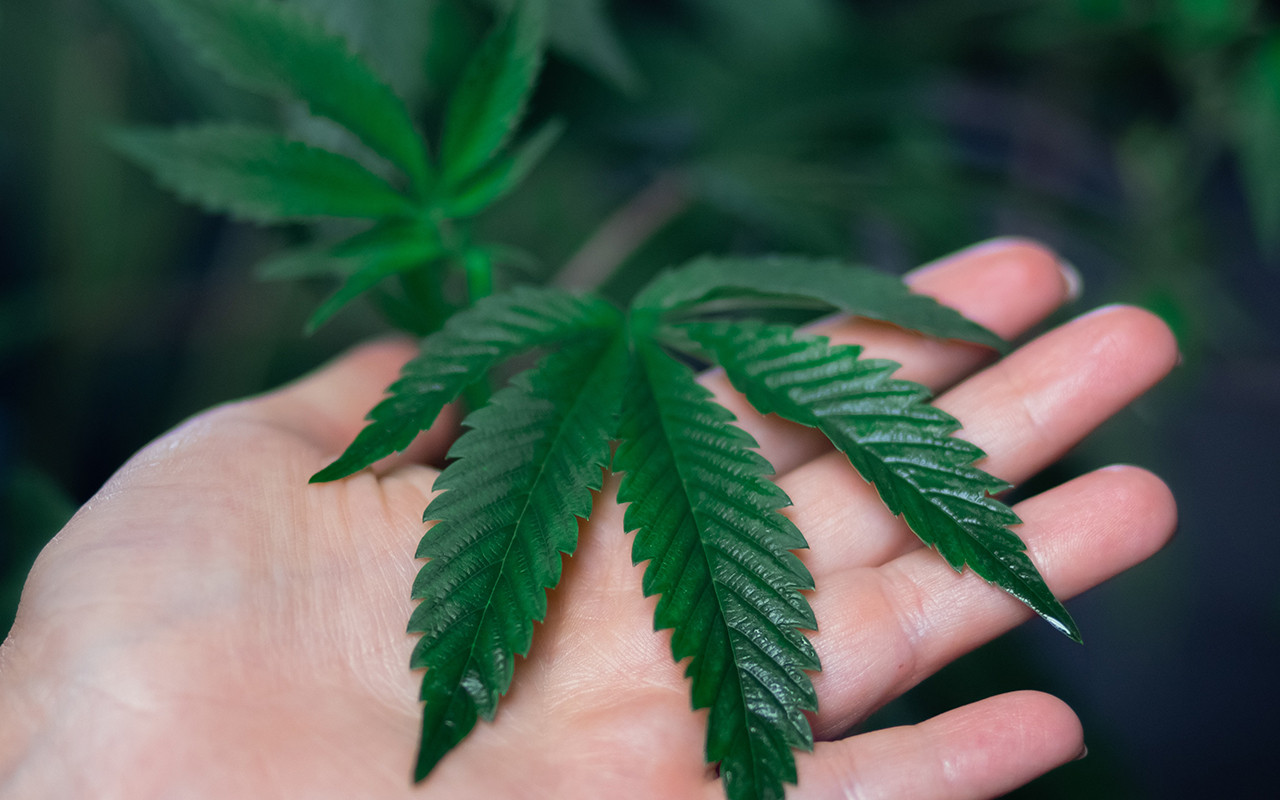
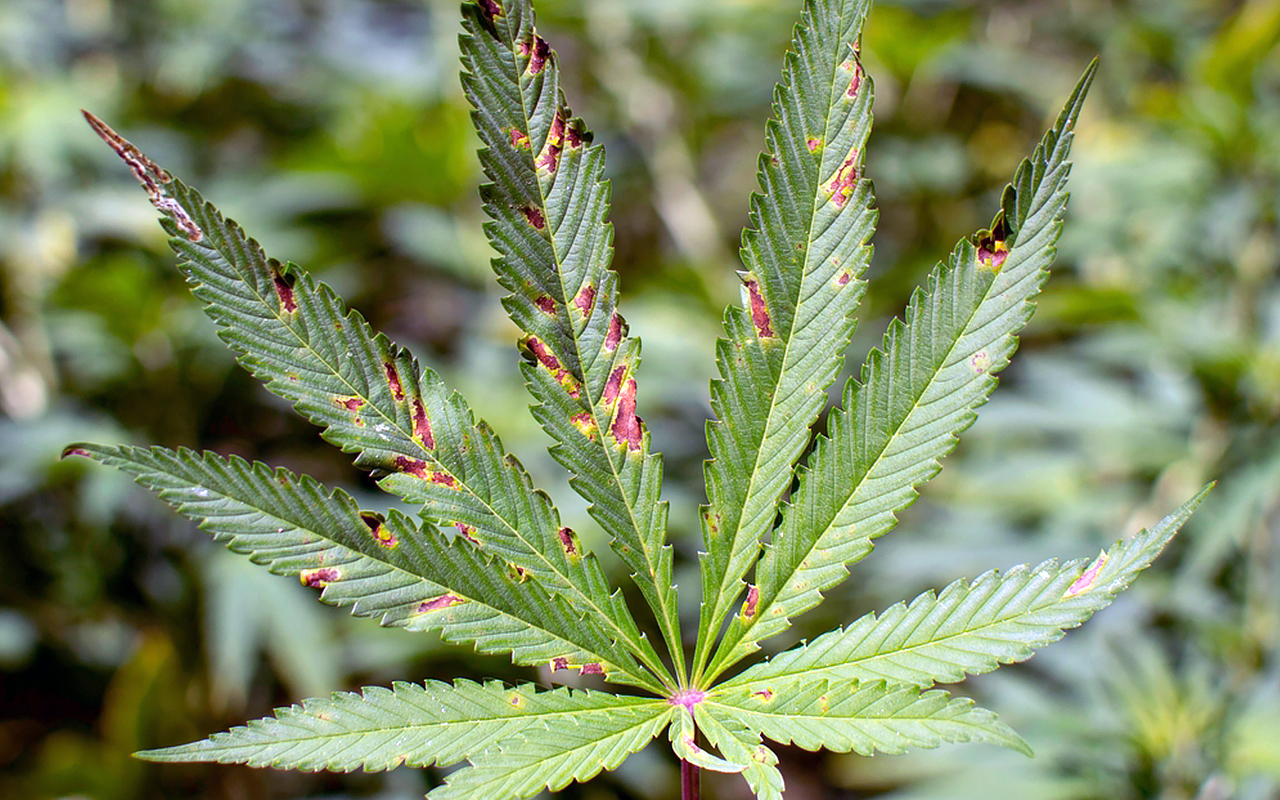
Once your seedlings start growing, it’ll take about 2 to 3 weeks to reach the vegetative stage. At this point, your plant should have a thin stem with a few leaves growing on it. One thing you should note is that these leaves will have fewer blades than a mature cannabis leaf, having 3 as opposed to 5 or 7. The stem should be about half a foot tall. If it’s flimsy and weak, then you need to let it develop further before planting outside or in a larger pot.
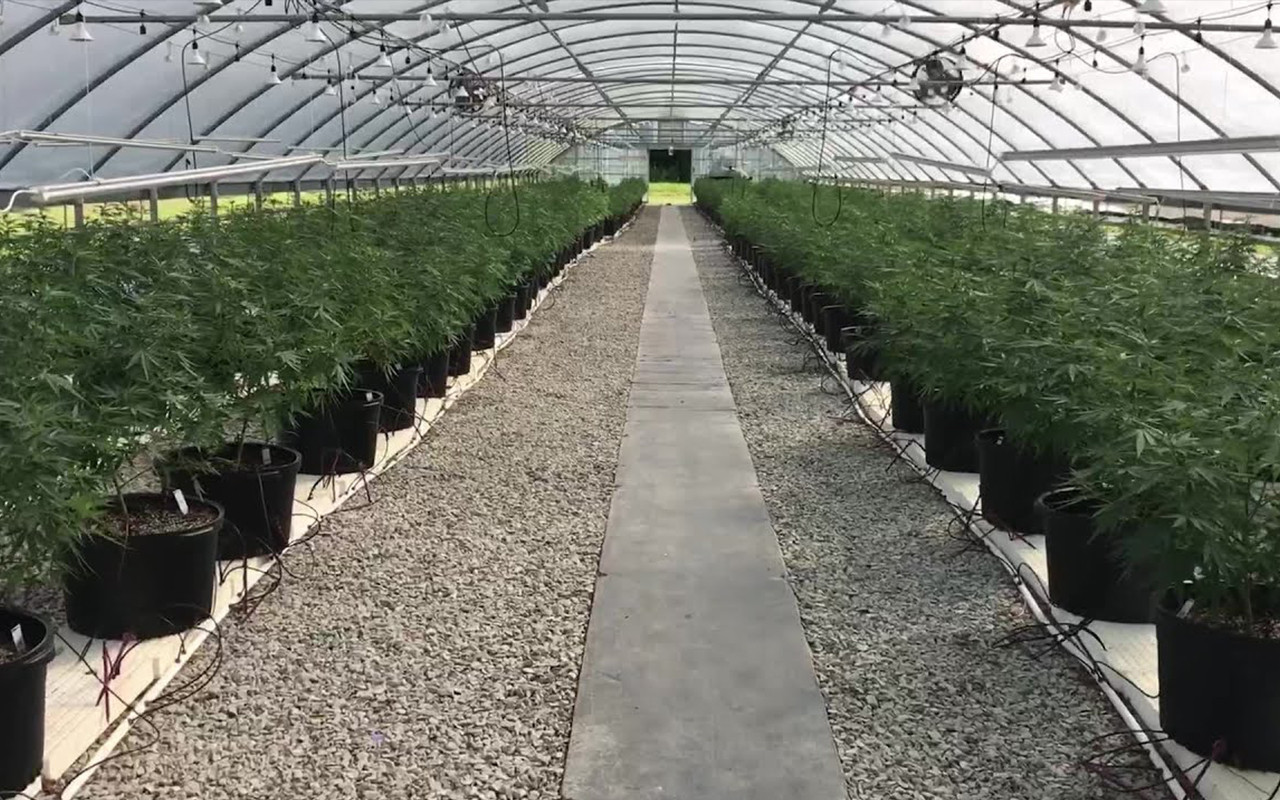
Transplanting into a larger plant is a requirement at this stage because you need to develop its extensive network of growth. Ideally, you want to place them outdoors in a greenhouse or a garden to receive ample sunlight, but a big pot should suffice as well. To cut down costs, you can consider planting them in plastic ones but make sure that they are big enough so that your plant’s roots have enough reach.
A 5 to 10 liter one is big enough to let your plant reach its full potential. Just make sure to leave them in there once transplanting. Excessive movement can damage roots. You’ll find that to be true once you transplant them after the seedling stage, as your plant will appear to wilt and become flimsy for a few days. It should become normal after its root cells develop once again.
It is during the vegetative stage that light becomes a limiting factor for growth. Here’s how you can tackle this problem.
Light
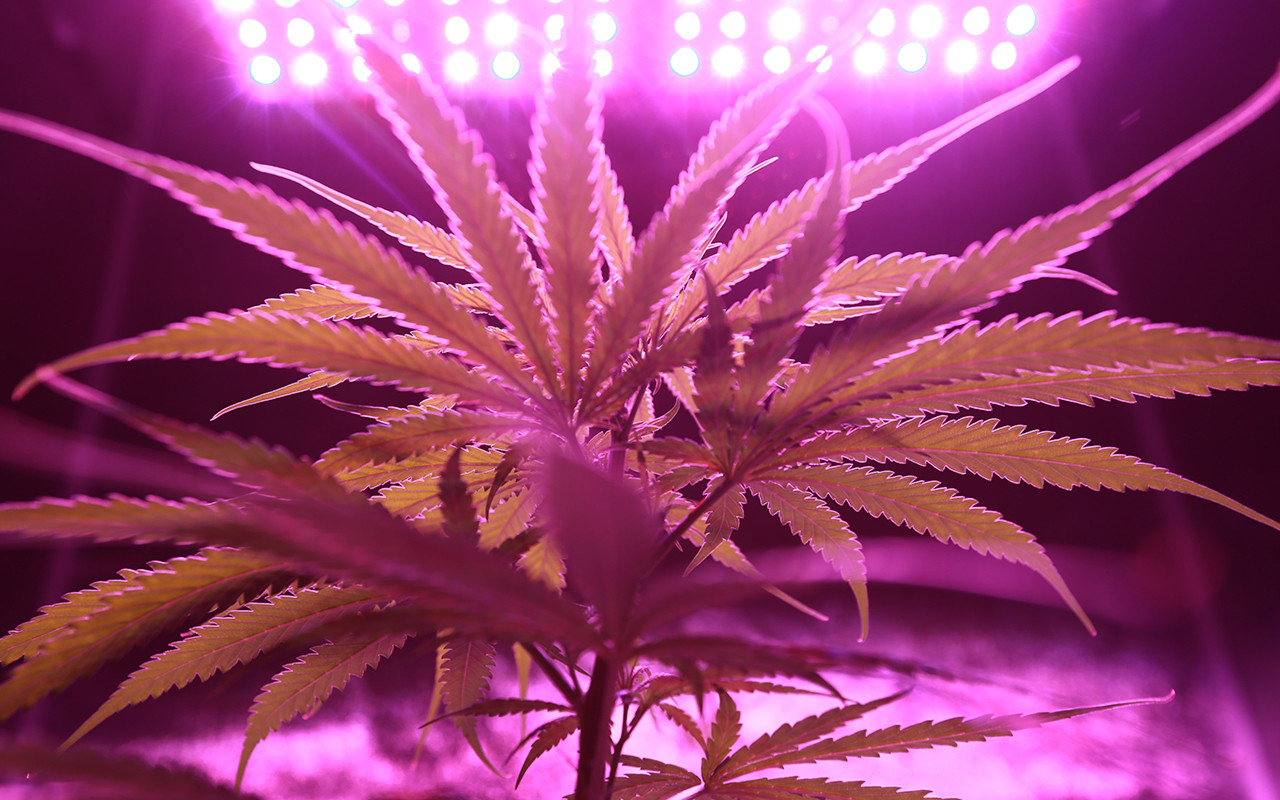
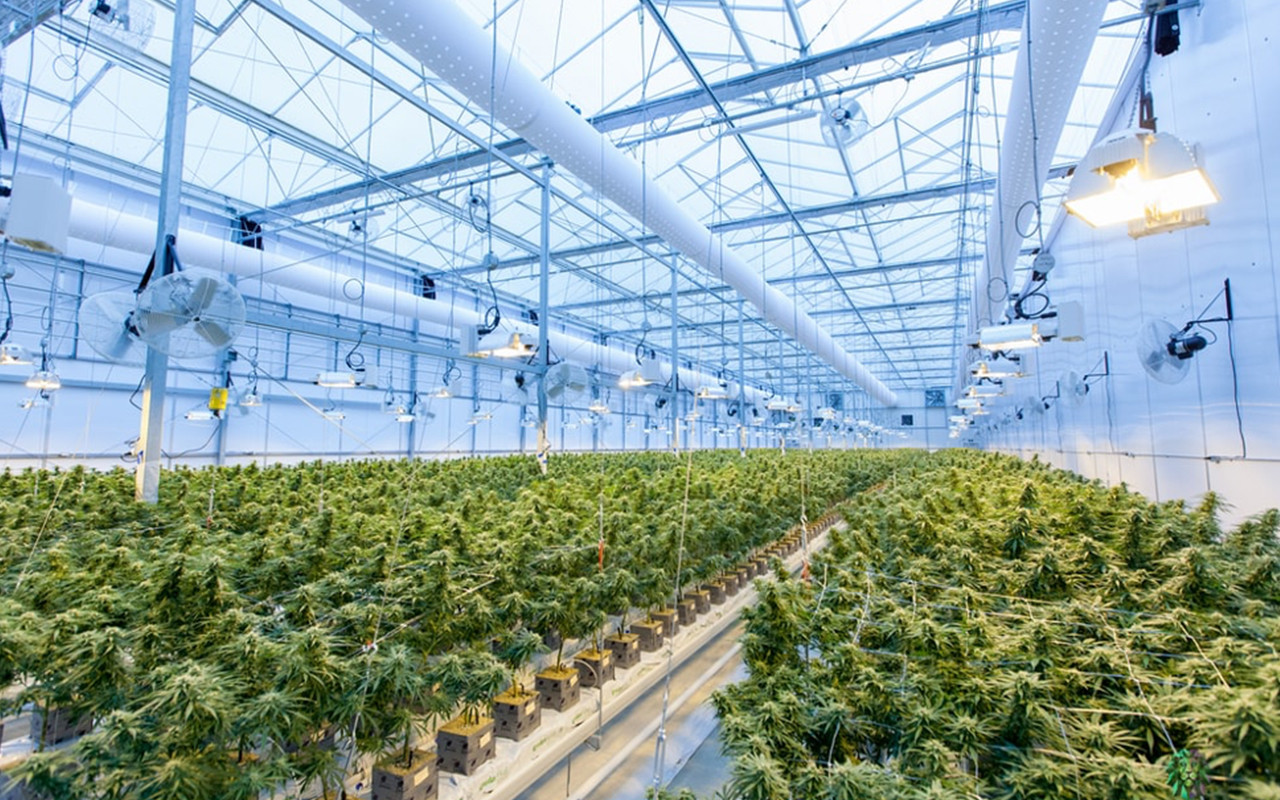
Though light is important during all stages of cannabis growth, it’ll become even more necessary here. If you’ve transplanted your plants in the sunlight, then it shouldn’t be a problem. However, if you’re growing indoors, then you might need artificial light sources. During this stage, your cannabis plants will need 16-18 hours of light every day, so make sure you can foot the bill if you have a large crop. There are many types of lighting sources to choose from like, incandescent, fluorescent, HID, sodium vapor, etc. But, LED panels are perhaps the most cost-effective and produce the highest intensity that’s easily controllable. Plus, their fixtures can be custom-made, saving space in the later stages of growth.
What’s important is that you look at the light intensity rating, given in lumens (also known as foot-candles) on your intended source. Each plant needs about 2500 lumens during the vegetative state; however, this number increases with plant growth, reaching up to 10,000 lumens till the flowering stage. So, make sure you invest in a source that allows you to go up to 10,000 lumens with a control mechanism for adjustment.
The vegetative state lasts from anywhere between 3-16 weeks, and it is during this time that the bulk of the plant growth will take place. Hence, make sure that all your leaves receive ample light, especially the ones on the lower branches. If they turn yellow, just remove them and add them to your compost.
Managing your Plant
Cannabis is the fastest growing plant, second to bamboo. Therefore, growing cannabis at home requires effective management. Otherwise, you’ll have an out-of-control bush that’s growing all over the place.
Use zip ties and supporting rods to coerce the plant into growing in the right direction. Make sure that any unruly branches aren’t getting in the way of other leaves or growing into other plants. You might need to cut off and some branches from the top, but that’s okay. These branches can be transplanted and grown separately as a clone without needing you to sacrifice on the final yield.
Sex Determination
During the first week of the vegetative stage, your cannabis plants’ sex organs should start appearing. Cannabis has separate male and female plants with the female organs containing the sot after CBD and THC. The male plants can be removed and repurposed as compost; otherwise, they pollinate the females during the flowering stage and make them grow seeds, ruining your crop.
The female plants start to grow small white hairs called pistils in areas where branches start to diverge. On the other hand, male plants produce small pollen sacs in the same region.
You may also encounter hermaphrodite plants – with both male and female sex organs. They’ll also need to be removed to prevent self and cross-pollination.
Humidity and Temperature Considerations
At this point, you should start considering more about the environment in which your crop grows. These factors are essential to the growth and subsequent yield of the final product.
Cannabis requires a moderately warm temperature to grow, around 22 – 27 OC. Additionally, you’ll need to control the humidity as cannabis requires a high relative humidity of about 60 - 80%. You can kill two birds with one stone by installing an air conditioning unit that can control both these variables or just rely on the existing air conditioning system in your home. If your crop’s size doesn’t make it feasible for you to install one, then you may need to use humidifiers and fans for cooling.
If you’re growing cannabis in your garden, then make sure that the temperature and humidity outside are at suitable levels.
The Flowering Stage
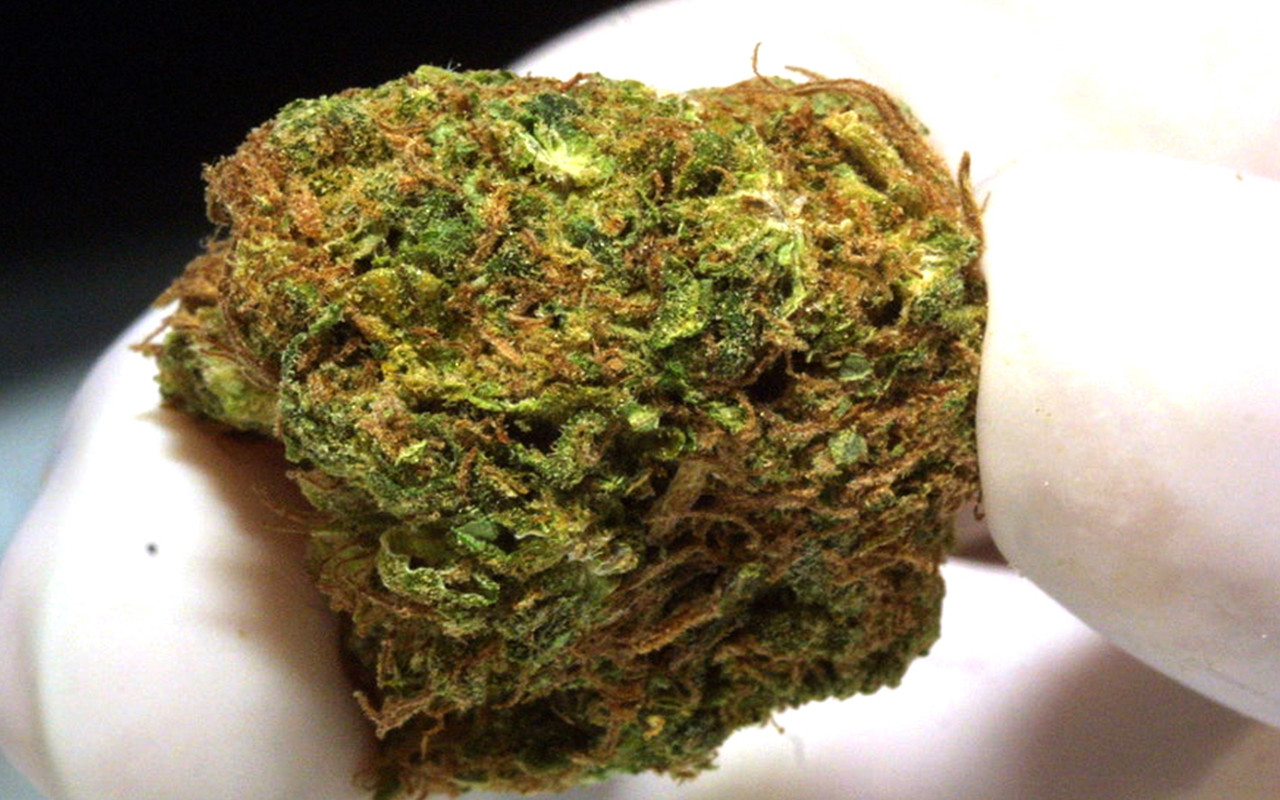
After the vegetative stage comes the flowering stage, which normally lasts for up to 3 weeks but can go up to 8 weeks, depending on the strain – fine white feather-like buds will start appearing on the leaves. The plant is getting ready for pollination; however, with no male plants in the vicinity, they’ll start secreting a gooey substance. During the ripening stage, the pistils on the buds should start curling inwards, change color to shades of brown and white; plus, the buds should become short and fat. Once all the small hair (trichomes) become a strong white color and brown pistils no longer change appearance. You can get ready to harvest.
Harvesting
Just use clippers to cut off the branches and remove the leaves. This’ll make it easier for you to dry the buds. Set your air conditioning apparatus to dry, and hang dry the buds for up to a week. If you’re growing outside, you can even let them dry out in the sun. Just make sure that the environment is clean and sanitary. You can dry them as per your required consistency. If you want them to crumble to the touch, then you might have to leave them to dry for longer. With that, your growing cannabis at home journey comes to an end. Enjoy the fruits of your labor and test your product for quality.


